Making a sound post
Every now and then, we have a young maker helping out for a couple of weeks. It is mainly for preparation work and assistance in research projects. This summer Jef Leirs, from the violin making school in Antwerp came and left us not only with some good memories, but also with fine sound posts from the special Strad forrest spruce I wrote about a few posts earlier. Also, and this is remarkable, he produced a neat write up about the process of making them:

Violin: Ø 6,35 mm
Viola: Ø 7.10 mm
± 0,05mm
Making a soundpost

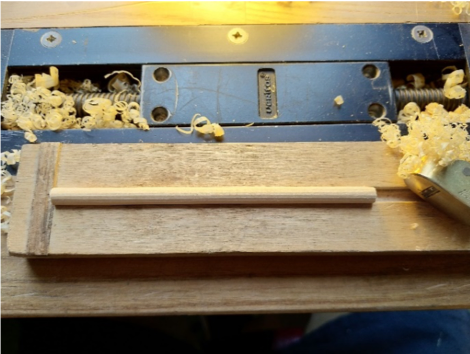
1. Start off with a piece of split wood of about 20 cm long. Choose the side with the flattest, most even split to plane flat and make one side square to it. Saw off square strips of ± 7,5 mm with a bandsaw. Using a small block plane, these pieces should then be planed to 6,43 mm, working on opposite sides at the same time and checking for squareness with a caliper. In this stage it shouldn’t be too hard to work to this fine tolerances.

2. Put the sound post in a jig and use a flat thumb plane to make it into an octagon. Again working on opposite sides at the same time and using a calliper to check for squareness. I found it easiest to put the jig in the direction of the bench, planing from right to left rather than planing away from your body. You should end up with an octagonal stick with eight facets equal in width and a thickness of 6,43 mm all around. 6,40 mm to 6,45 mm is tolerable but the closer the better.

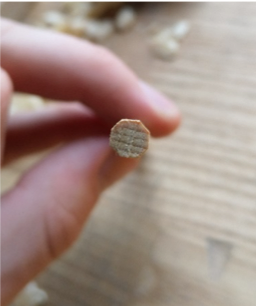

3. Next step is to go from 8 facets to 16 facets. To do this, position a lamp so that you can clearly see all the different facets of the soundpost. Again with the thumb plane, take off every corner to create a new facet measuring 1/3 of the width an original facet. About four strokes per corner should be enough. If you did one corner you simply turn the soundpost to around to the next one and so on until you arrive where you began. Pay special care to still make all facets the same size. At this point the distance between opposing facets should nowhere exceed 6,45 mm. Correct if necessary, aiming for 6,43 mm.

4. Using a scraper you can now go over every newly created corner to take it off. Don’t bother with trying to make 32 perfect facets but just aim for the corners while lightly scraping away. In the meantime, keep checking in the light for sometimes you might have to do a small correction, especially on the slab side.
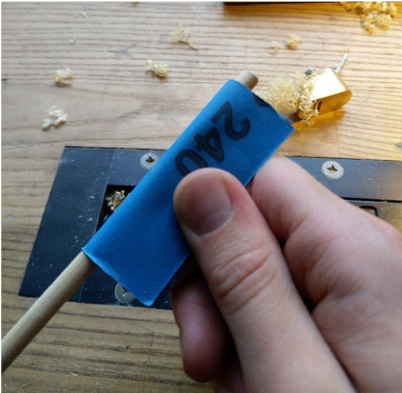
To finish, give it a light sand with 240 grit using the stiffness of the paper more than pushing with your fingers. Make sure it’s nice enough from the scraper so you don’t have to sand for too long, as this will result in flatter soft grain areas. Move on to 320, 400, 600 and 1000 grit. This should leave you with a nice silky finish. •